

Home Automation Installation Sydney: What to Expect Start to Finish
Most people researching home automation focus on the end result — the app, the keypads, the lighting scenes — without a clear picture of what the installation journey actually involves. That gap creates problems: missed pre-wire windows in new builds, unrealistic timelines in renovations, and surprises at commissioning when a wall needs to be re-opened. This guide walks through the full process, from first conversation to live system, so you know exactly what you're committing to before you start.
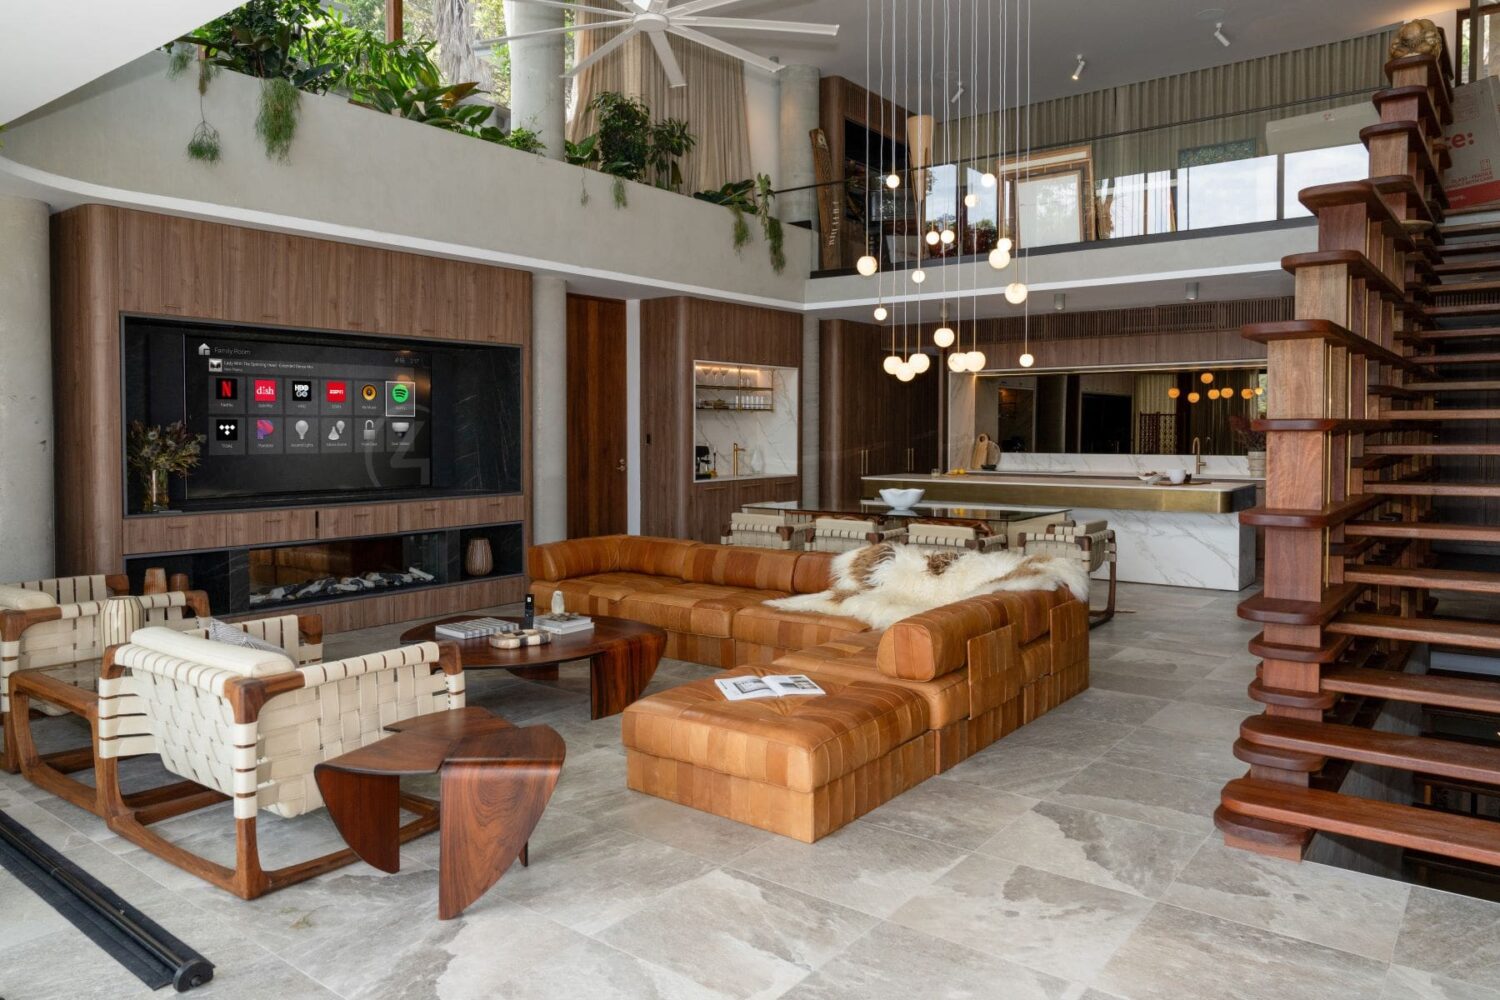
The Seven Stages of a Professional Home Automation Installation
Stage 1: Initial Consultation
Before any equipment is specified or quoted, a professional integrator needs to understand your project. A proper first consultation covers:
- Your home's layout, size, and construction type (new build, renovation, or retrofit into an existing home)
- Which systems you want to automate — lighting, audio, climate, security, cinema, networking, or all of the above
- How your household actually lives — morning routines, entertaining habits, kids' needs, holiday security requirements
- Your technical comfort level (do you want to configure things yourself, or do you want the system to work without you needing to touch a settings menu?)
- Budget range and priority order (if budget is constrained, which systems matter most?)
A company that shows you product catalogues and pricing at the first meeting without asking these questions is not designing a system for your home — they're selling you a standard package. The consultation should feel like a briefing, not a sales pitch.
Stage 2: System Design and Specification
Based on the consultation, your integrator produces a system design. For a serious project, this is a real document: a rack layout, a network diagram, a floor plan showing device locations, a cabling schedule, and an equipment list. On a $50,000–$100,000+ project, this design phase can take several weeks and may involve a site visit to measure rooms and assess existing infrastructure.
The specification should include:
- Control4 controller selection (appropriate to system scale)
- Network infrastructure — typically Ubiquiti UniFi access points, switches, and router, sized to the home
- Audio zones — speaker locations, amplifier configuration
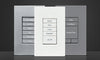
- Lighting specification — keypad locations, dimmer or relay requirements, DALI if specified
- Climate integration — Daikin or other HVAC brand interface points
- Security — cameras, intercom, alarm integration
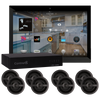
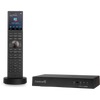
- UI devices — touchscreens, T5 tablets, Control4 remote controls
This is the stage at which budget alignment happens. If the initial specification exceeds your budget, your integrator should identify where scope can be staged or reduced without compromising system integrity.

Stage 3: Pre-Wire (New Builds and Renovations Only)
This is the most time-critical stage on any project involving construction. Pre-wiring happens after the frame is up but before the plasterboard goes on — it's the only practical window to run structured cabling through walls without cutting and patching.
Pre-wire involves running:
- CAT6A or CAT6 Ethernet to every room, access point location, and device location
- Speaker cables to ceiling or wall speaker positions
- HDMI or HDBaseT runs to TV locations and AV rack position
- Control wiring for keypads, touchscreens, and intercom
- CCTV cable runs
- DALI bus wiring if architectural lighting is specified
Missing the pre-wire window adds significant cost — chasing cables through finished walls is labour-intensive and invasive. If you're building or renovating, get your smart home integrator on-site and engaged with the builder before lock-up. On a 4-bedroom Sydney home, pre-wire typically runs 2–4 days of cable installation work.
Stage 4: Equipment Procurement and Rack Build
With cabling in place, your integrator orders and receives all equipment. For a full Control4 system, this includes the controller (EA-3 or EA-5 depending on scale), the network switches and routers, the audio amplifiers, UI devices, and all integration modules. The rack — the central housing unit where most active equipment lives — is typically assembled and tested off-site before delivery. A properly terminated rack is neater, easier to service, and significantly reduces on-site commissioning time.
Stage 5: Physical Installation
On-site installation involves terminating all the pre-run cables, installing the rack in the communications riser or equipment cupboard, mounting speakers and in-wall UI devices, installing smart switches and keypads, setting up cameras, and connecting the network infrastructure. On a mid-to-large project, this stage runs 2–5 days depending on scope.
Coordination with the electrician is important here — the smart home installer and the electrician often need to be on-site together for keypad fitting, lighting circuit assignment, and dimmer installation. On a new build, this is typically managed by the builder as part of the construction programme.
Stage 6: Programming and Commissioning
This is the stage that separates a professional Control4 system from a basic smart device installation — and it's where an experienced programmer's value becomes obvious. Programming involves:
- Loading the Control4 project file and configuring all connected devices
- Setting up every lighting scene, including time-of-day automations, occupancy-based triggers, and scene sequences
- Programming climate automation — temperature schedules, away modes, HVAC integration with Daikin or other systems
- Configuring audio zones, sources, and multi-room distribution
- Setting up security — camera views, alarm integration, intercom behaviour
- Building the user interface — the app layout your household will use every day
- Creating conditional logic — "when the last person leaves home, set the alarm, turn off all lights, and drop the climate to eco mode"
On a whole-home project, programming is typically 1–3 days of focused work. The quality of this programming is what makes your system feel intelligent rather than just automated. Read more about how Control4 works and what good programming delivers.
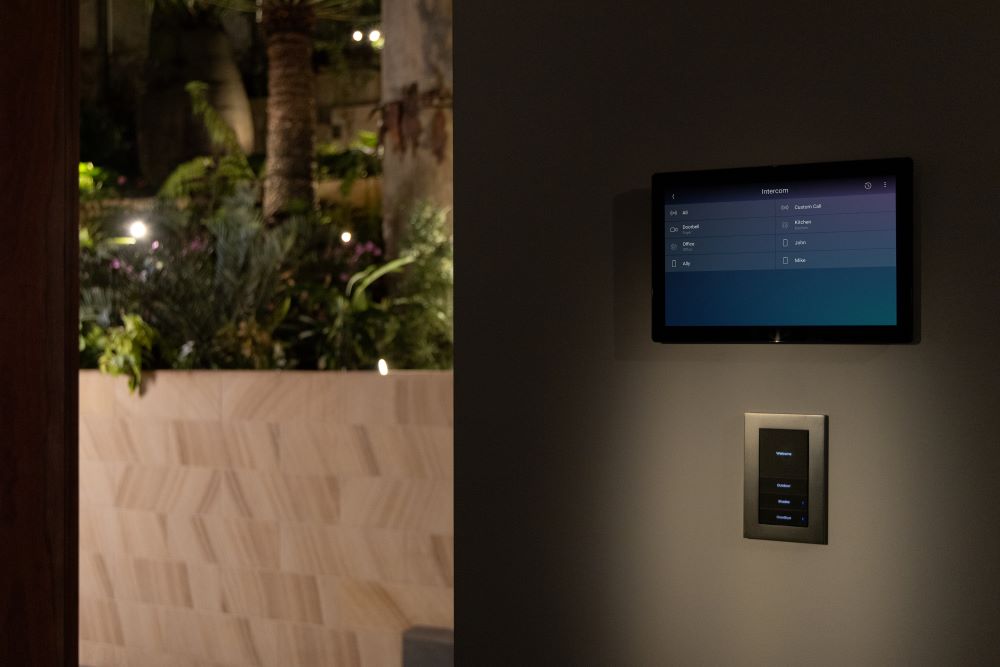
Stage 7: Handover, Training, and Ongoing Support
Commissioning ends with a formal handover session. A professional integrator walks through the system with you and your household — how to use the app, the touchscreens and keypads, how to adjust scenes, and what to do if something doesn't behave as expected. This isn't a quick 20-minute overview; for a complex system it might take 1–2 hours to cover everything properly.
After handover, most homeowners have questions during the first few weeks as they settle into the system. A good integrator is available for remote support — most issues on a Control4 system can be diagnosed and resolved remotely without a site visit. Annual service agreements ($500–$2,000/year depending on system scale) cover proactive maintenance, software updates, and priority support.
Typical Timelines by Project Type
| Project Type | Typical Scope | Total Duration | On-Site Time |
|---|---|---|---|
| Apartment or unit retrofit | Audio + networking or single system | 2–4 weeks | 1–2 days |
| Existing home renovation (partial) | Multi-system integration | 4–8 weeks | 3–5 days |
| Major renovation (whole-home) | Full integration, pre-wire included | 6–16 weeks (construction-dependent) | 5–10 days across multiple visits |
| New build (4+ bedrooms) | Full integration, pre-wire to completion | Runs concurrent with construction | 8–15 days across build phases |
What Goes Wrong on Poorly Managed Installations
The most common problems we see when taking over systems installed by less experienced companies:
- Insufficient network infrastructure — a smart home puts significant demand on a WiFi network. Systems installed without enterprise-grade networking (Ubiquiti or equivalent) develop persistent connectivity issues. Explore our networking range to understand what adequate infrastructure looks like.
- Missing pre-wire — cabling that was never run correctly during construction, requiring invasive retro-install of key components
- Shallow programming — systems that can switch lights on and off but have none of the conditional logic that makes automation genuinely useful
- No documentation — no rack diagram, no cable schedule, no project file backup — making any future modifications difficult and expensive
- No post-installation support — the installer has moved on and the homeowner is left with a system they can't get serviced
Planning Your Installation: Where to Start
The earlier in your project timeline you engage an integrator, the better the outcome and the more value you get. On a new build or major renovation, the ideal time to make contact is when you engage your architect or when construction documents are being finalised — not after the plasterboard is up. For a retrofit into an existing home, there's more flexibility, but the design process still needs adequate time before on-site work begins.
For context on what a whole-home system costs in Sydney, read our complete Australian pricing guide. For a breakdown of what makes Control4 the platform of choice for professional installations, see our Sydney smart home guide.
FAQ: Home Automation Installation in Sydney
Can I get a smart home installed in an existing home without major renovation?
Yes, with some trade-offs. Retro-fitting into an existing home without opening walls limits what can be achieved with wired cabling. Wireless protocols (Z-Wave, Zigbee, WiFi-based devices) extend the reach of what's possible, and some systems use existing wiring infrastructure. A professional integrator will design the best solution for your building's actual constraints. The result is generally excellent, though a wired new-build installation offers more flexibility and reliability.
How long before my renovation should I contact a home automation company?
Ideally 4–8 weeks before construction starts, and the earlier the better. The pre-wire window — when walls are open — is brief and if your integrator isn't engaged and ready to move when it comes, you miss it. For large new builds, we recommend engaging during the design and documentation phase so cabling runs can be incorporated into the architect's plans.
Do I need to be home during the installation?
Not for every stage. Pre-wire and physical installation don't typically require you to be present, though access to the property needs to be arranged with your builder or property manager. The commissioning and handover stage does benefit from your presence — this is when your preferences and habits are programmed into the system.
Can I add to my system after installation?
Yes — Control4 is designed to be expanded. Adding new rooms, new devices, or new capabilities after the initial installation is straightforward, particularly if the cabling infrastructure was designed with future expansion in mind. Your integrator can make most additions remotely or with a single site visit.
What happens if I sell the house?
A well-installed Control4 system is a genuine selling feature in Sydney's prestige property market and adds real value. The new owners can either take over the system with appropriate handover documentation, or your integrator can reconfigure it for their preferences. Some clients transfer their service agreement to the new owners as part of the property transaction.